Brownie Truffles
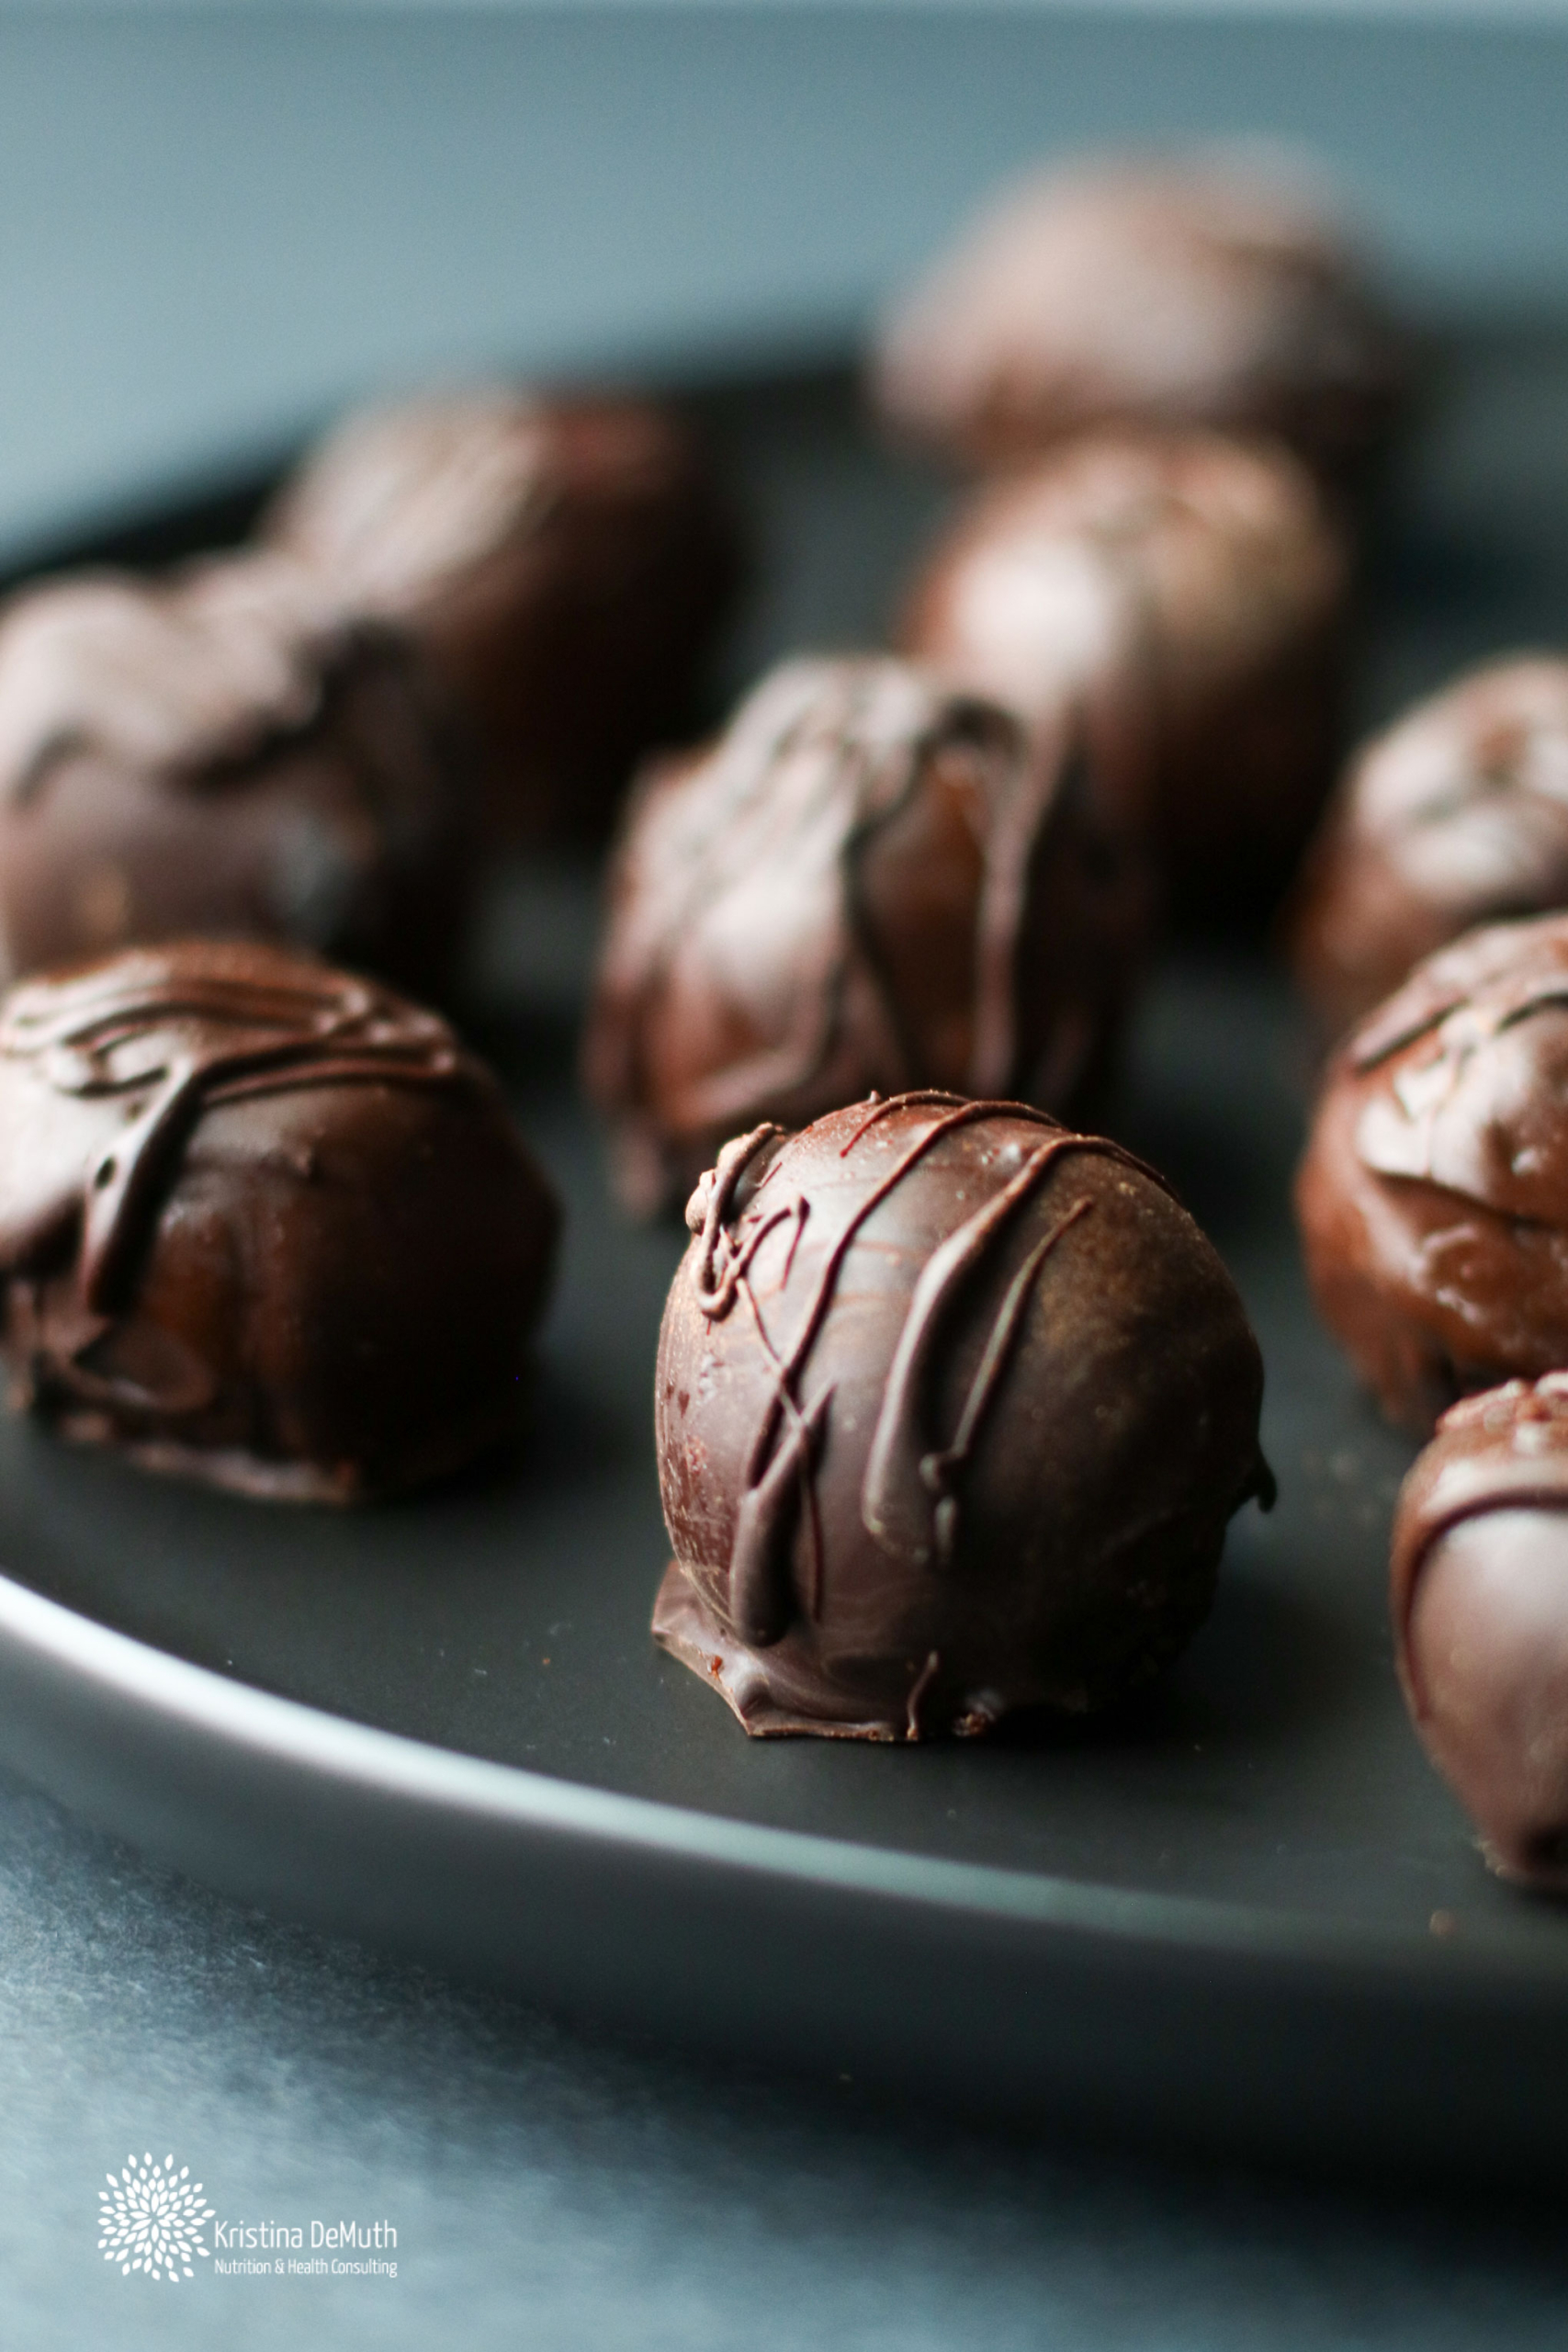
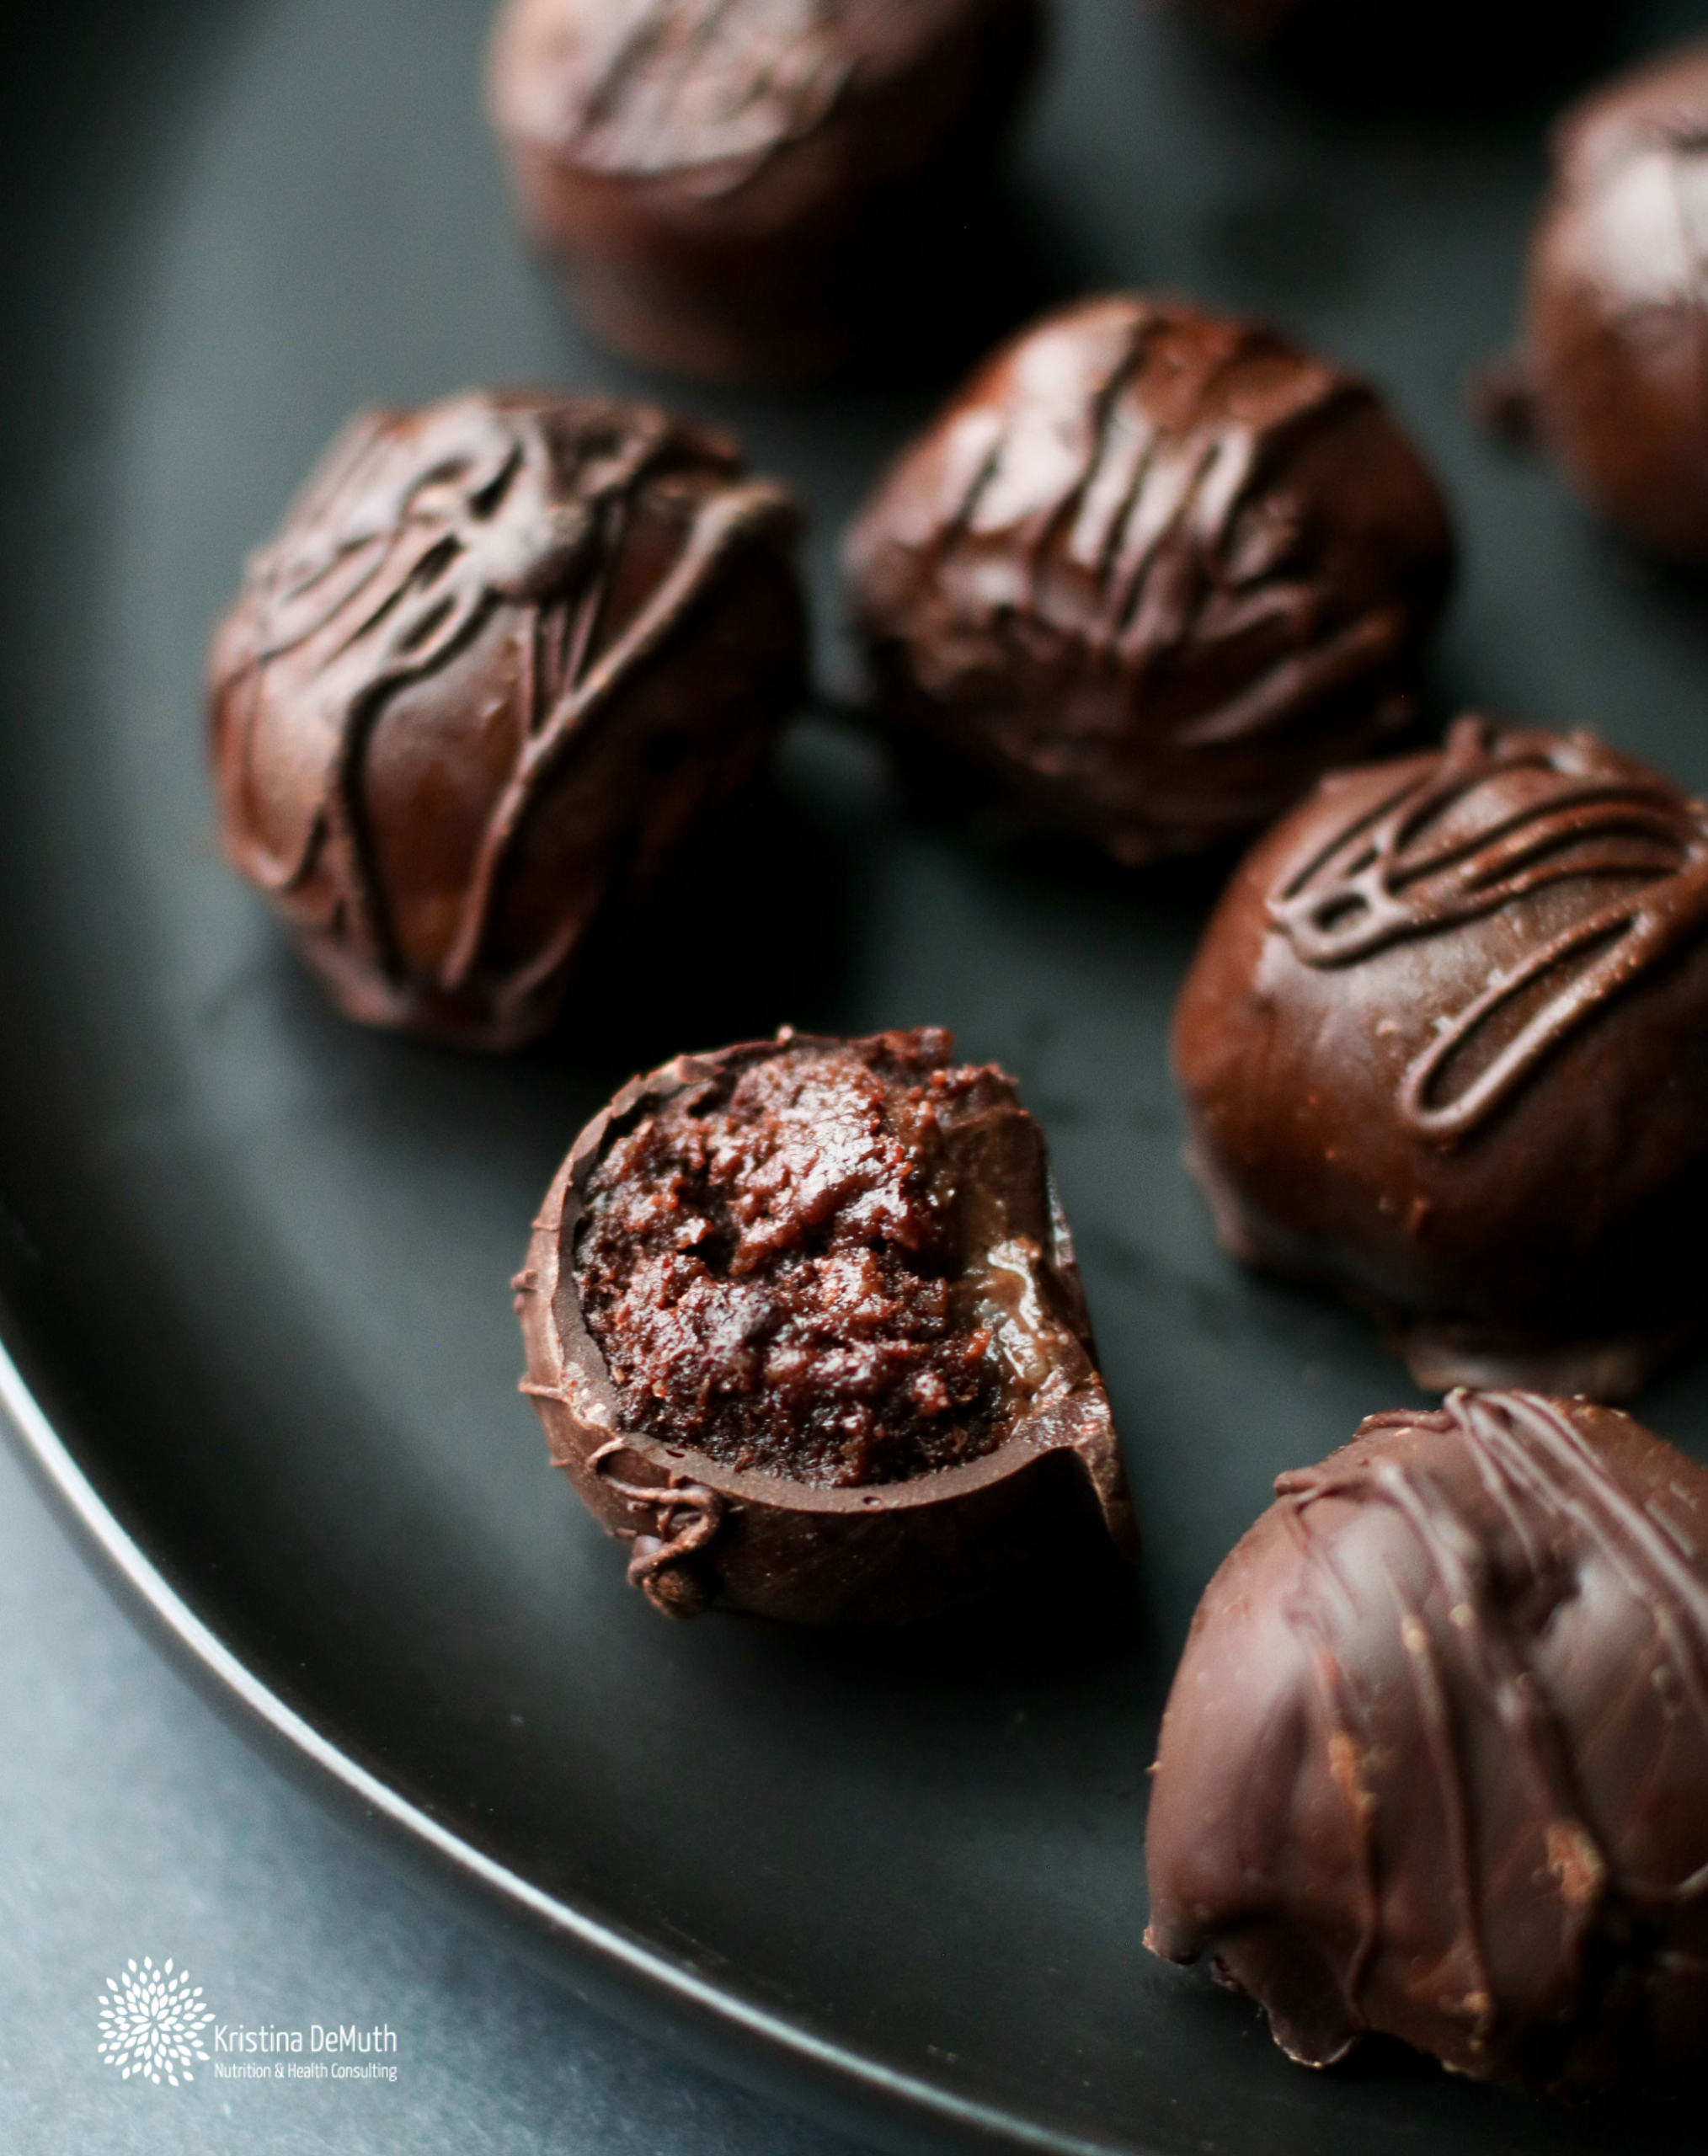
These Brownie Truffles are absolutely delicious! A crunchy shell, with a smooth and fudgy center- this is really a decadent dessert. The outer shell is a very bold, dark bitter taste due to the unsweetened 100% cacao, while the center is a sweet and rich taste due to the combination of dates and nuts.
These truffles are made with some of my favorite dessert ingredients: cashews, chocolate, almonds, and dates.
One thing I love to do on this blog is to recreate childhood food memories with my own plant-based spin. I always love coming up with ways to recreate the foods I loved as a kid.
One recipe that came to me this year was the oreo truffles that were served at my grandma’s house on Christmas Day. It’s been years since I’ve had one of those, and while it could easily be made vegan these days with vegan cream cheese, oreos, and vegan chocolate chips— I always like to go the extra mile and see how I can use even healthier ingredients to recreate that bliss.
These truffles reminded me a bit more of brownie batter than oreo cookies once all was said and done– that’s why the name is a Brownie Truffle.
While this dessert uses more wholesome ingredients, they are still calorically dense due to the nature of the ingredients. That’s why it’s nice to make them into smaller portion sizes and store them in the freezer. Since they are very rich, I do find that it would be a bit more difficult to sit down and eat a whole tray of these anyway.
*I will hopefully be working on a nut-free truffle recipe soon for people with nut allergies. Recipe video is below. I am very much a visual learner- so I am enjoying making these recipe videos lately. I hope you all are enjoying them too!
Brownie Truffles
Ingredients:
1 cup raw almonds
1/4 cup unsweetened cocoa powder
3/4-1 cup pitted and chopped dates
1 cup raw cashews
1/2 cup water
1 teaspoon vanilla
8-12 oz of 100% cacao unsweetened baking chocolate, or as needed*
Method:
- Blend the almonds in a high-speed blender until fine like flour. Add the cocoa powder and the dates and process until fairly crumbly and no large pieces remain (it’s okay if there is still some texture). Transfer to a small mixing bowl.
- In a clean, dry blender add the cashews. Blend until fine like flour- or at least until no large pieces remain. Add the water and vanilla, then blend until fairly smooth.
- Pour the cashew cream into the bowl with the almond mixture. Stir until well combined. Place the mixture in the freezer for at least 20 minutes.
- Line 1-2 baking sheet(s) with a silicone mat or parchment paper. Roll the mixture into 21-28 small little balls (prepare for messy hands) and set them on the silicone mat.
- Heat the chocolate following the instructions on the package. You may find it helpful to only melt about 4-6 oz at a time instead of all at once to avoid wasting chocolate.
- Coat the bottom of a fork with a thin layer of chocolate. Place a ball on it and then using a spoon, coat the the ball until fully coated. Carefully transfer the truffle to a spot on the lined cookie sheet (I found it helpful to use a clean fork to transfer it off). Continue this process until all the balls are coated. Feel free to drizzle with a little extra chocolate to add a fancy touch. If you find another coating method works better for you, please feel free to use that!
- Store the truffles in the fridge or the freezer until ready to enjoy. (I store mine in the freezer so they last longer. If you keep it in the freezer, feel free to let it sit out for a moment before biting into them).
Recipe Notes:
- The 100% cacao unsweetened baking chocolate chips I used were from Trader Joe’s. There are a variety of bars and chips out there. The 100% cacao is very bitter on it’s own, if it’s too intense for you could try a dairy-free dark chocolate bar or chips of your choice instead. I used 100% cacao because it doesnt contain any other added ingredients, such as cane sugar.
- I used a microwave to melt my chocolate. I would heat the chocolate for 30 seconds, stop and stir it and then continue this process (30 seconds heat, stir) until the chocolate was melted. I tried the stove top method, but totally burnt my chocolate- so I will be sticking with the microwave method until further notice.
- I found that I needed a little over 6 oz of chocolate – but I was also wasting a lot of chocolate because it would start to harden on my spoon and bowl- which is why I suggest starting with a small batch of chocolate, but also having enough on hand for bloopers.
- I have tried several different methods for getting the center mixture to be really smooth. Feel free to use this methods if you prefer it better. Soak the cashews in hot water for at least 30 minutes. Then after making the almond mixture, drain the water off the cashews and blend with 1/2 water until smooth. Add the almond mixture to the blender and continue to process until smooth.
- I have not tried to make the filling in a food processor, but feel free to give it a try!
Here’s a visual tutorial of how to make Brownie Truffles on my instagram.
View this post on Instagram


 Kristina DeMuth
 Kristina DeMuth