
Chickpea Pumpkin Pie
The smell of pumpkin pie baking in the oven and making my whole house smell like a holiday bake shop gives me all the cozy fall feels. Pumpkin pie is a family favorite over here!
My other pumpkin pie recipe has been a go-to recipe every year. However, I am trying to branch into some more nut-free cooking and baking, as I know nut allergies are very common in the United States and nuts are very commonly used in plant-based cooking– especially in my kitchen.
I was inspired to add chickpeas to this recipe based on a pumpkin-chickpea dip my family tried from Costco- it was so tasty. My younger brother encouraged the exploration of a pumpkin pie filling made with chickpeas– so here we are!
I know, I know–chickpeas for dessert!? Trust me, it’s not what you think! The pumpkin, spices, and chickpeas actually go together so nicely! The chickpeas have almost like a graham cracker like taste, and it fits nicely with the sweet, earthy tones of the rest of the pie. The chickpeas give the pie a nice body, creamy and smooth with just a bit of grit. The chickpea-based pie is a bit softer and less firm than my cashew-based pie– but both variations are loved by my family!
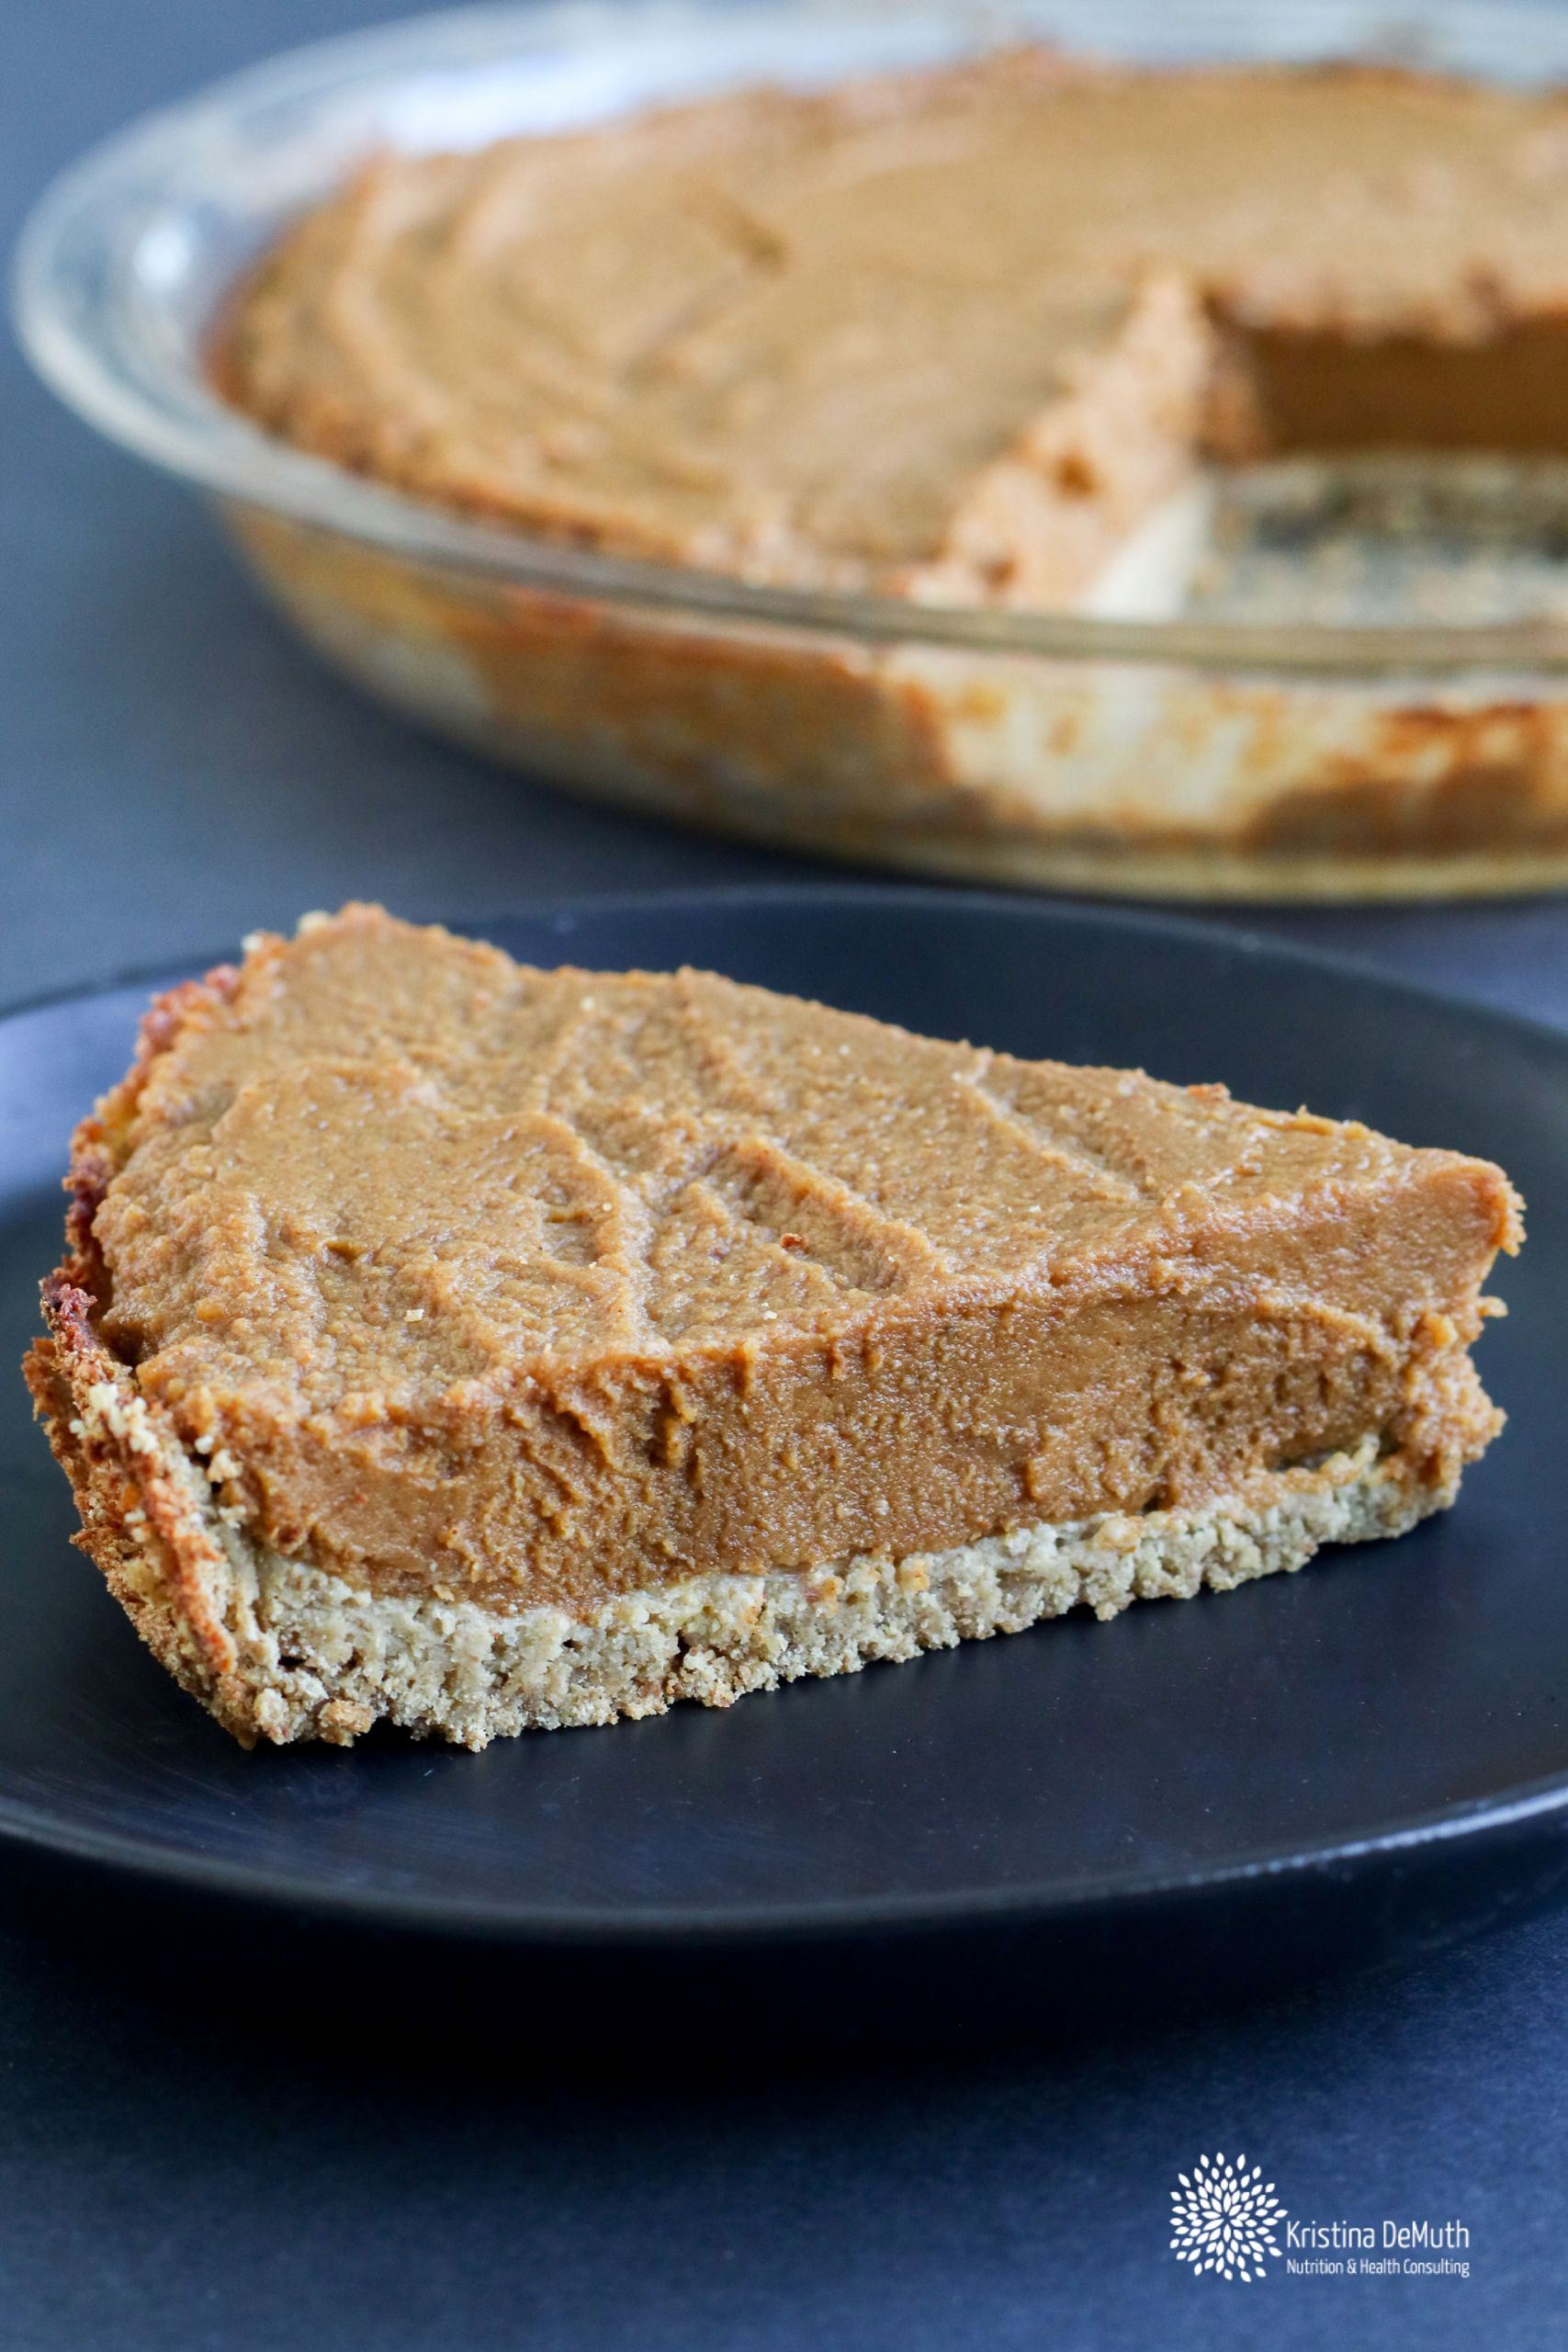
I rarely make “test” recipes on special occasions… but Thanksgiving 2021 I had an idea to roast the chickpeas before blending them up. I remembered a recipe from Chef AJ I made a few years ago, it’s a peanut-less peanut sauce that uses roasted chickpeas. Genius! I remember how nutty those chickpeas can get when roasted- so gave it a try for the pie I was making for my family Thanksgiving. The results- everyone loved it! The pie was a total hit. I left with one small slice leftover (for myself). I have since tested the recipe a few more times- and have the recipe below!
A few notes before you get started:
CHICKPEAS: My original version of this called for just cooked chickpeas, but I have been playing around with using roasted cooked chickpeas. It’s amazing! The regular chickpea version is still great if you want to minimize the steps, but roasting the chickpeas first gives it a very nutty-like taste. You can’t taste the chickpeas at all! I have included both recipes below. Feel free to do what works best for you!
CRUST: I have tested this recipe with both a walnut-oat crust (the nut version) and pepitas/ pumpkin seeds- oat crust (the nut-free version) and both were so great! As long as you don’t have nut allergies, feel free to use which ever one you want. I have tested the pie using a 1/2 cup cup pepitas instead of 3/4 cup, and it worked fine- though I felt like the crust was a bit more dry and didn’t stick the same.
SERVING: You’ll want the pie to cool completely before serving, this will help make for a really clean cut and the best experience. I personally think the pie is best the second day after it’s had time to chill in the fridge, but if you need to make it the day of- just be sure to make it in the morning to allow it to set a bit more before your event or when you plan to serve it.
SPICE: My family loves a good spice to our pie. We love cinnamon too! If this is too much cinnamon for you, feel free to cut back to 2 teaspoons (FYI: 3 teaspoons= 1 tablespoons).
For a slightly more mild pie, you can use the following spice combo too:
1 Tablespoon cinnamon
¼ teaspoon nutmeg
¼ teaspoon ginger
¼ teaspoon clove
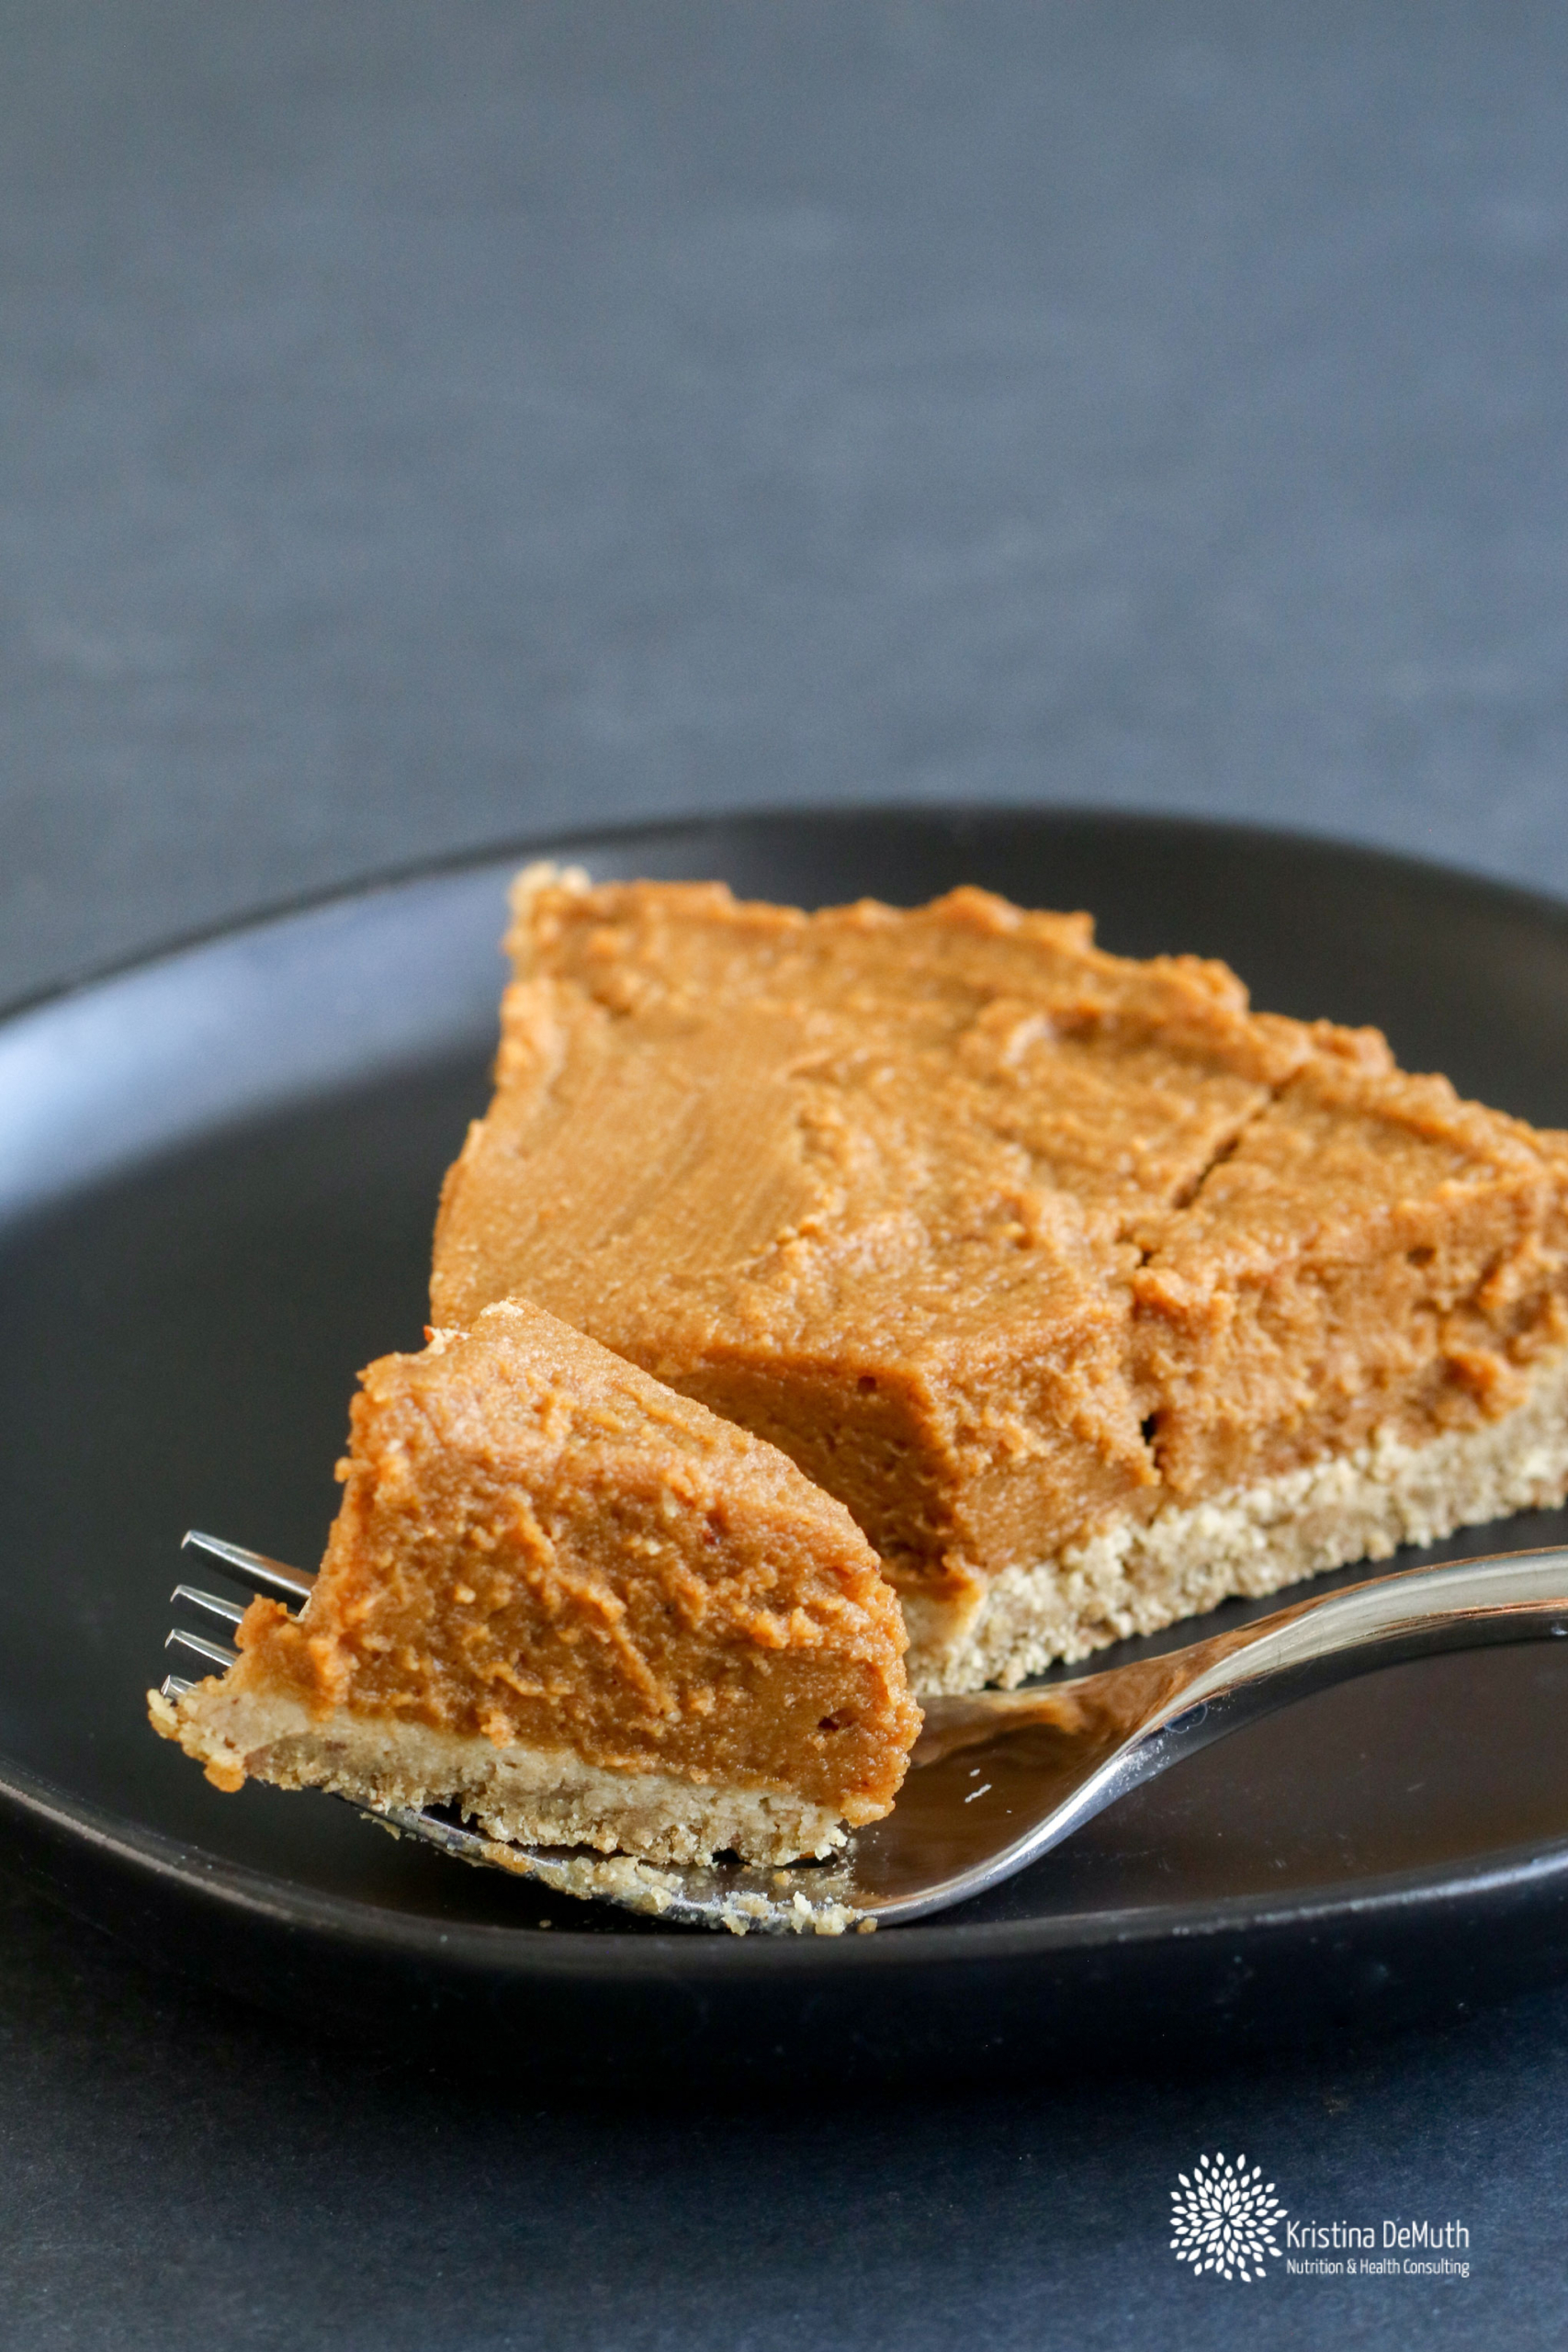
Chickpea Pumpkin Pie- Roasted Chickpea Version
Ingredients:
Cruts:
1 cup rolled oats
¾ cup pepitas (pumpkin seeds) or walnuts (see notes above)
½ cup dates, chopped
1 teaspoon vanilla
2 tablespoons water
Filling:
1 (15 oz) can of chickpeas, drained and rinsed
¾ cup chopped dates, pits removed
1½ cup hot water
1 Tablespoon cinnamon
½ teaspoon nutmeg
½ teaspoon ginger
¼ teaspoon clove
1-2 teaspoon vanilla
1 (15 oz) can of pure pumpkin puree
Method:
- Preheat the oven to 400F or if you using an air fryer to roast the chickpeas preheat the oven to 350F for the pie.
- Drain and rinse the chickpeas.
Oven Method: Place them on a baking sheet lined with a silicone mat or parchment paper and roast for 25-30 minutes in the oven. Once finished, lower the oven temperature to 350F.
Air fryer Method: If using the air fryer, place the chickpeas on the air fryer tray and air fry for about 10-15 minutes.Feel free to add a little more time on either method if you’d like them a little more browned, but try to avoid burning. Once the chickpeas are done, set them aside to cool.
- In a high speed blender, combine the oats and pepitas (or walnuts). Blend until fine like flour. Add the dates and blend until the dates are fine. Next, add the vanilla and water. Blend until the mixture looks like a sticky cookie dough. It’s okay if there is a bit of texture.
- Add the pie crust to a glass pie dish. Spread the crust out and pat it together, making sure to add crust to the sides. The dough will be sticky. It can be helpful to use clean hands, to move the dough around. If using a spoon, dip it in a little water to help it spread the dough out better.
- In a high speed blender, combine the roasted chickpeas, dates, and water. Blend until smooth. Next, add the spices and vanilla and blend until smooth. Finally, add the pumpkin to the blender. Continue blending until the filling is smooth. It may be helpful to scrape down the sides several times to help it blend better. Add 1-2 tablespoons of water, if needed, if the mixture is not blending well (you can use up to ¼ cup water, but start with a little at a time).
- Once smooth, pour the filling over the pie crust and spread evenly. Any leftover filling can be baked in a small ramekin for a little treat- or just enjoy it on its own!
- Bake the pie for 30 minutes and then allow to cool completely before serving. Enjoy!
Makes enough for 6-8 people.
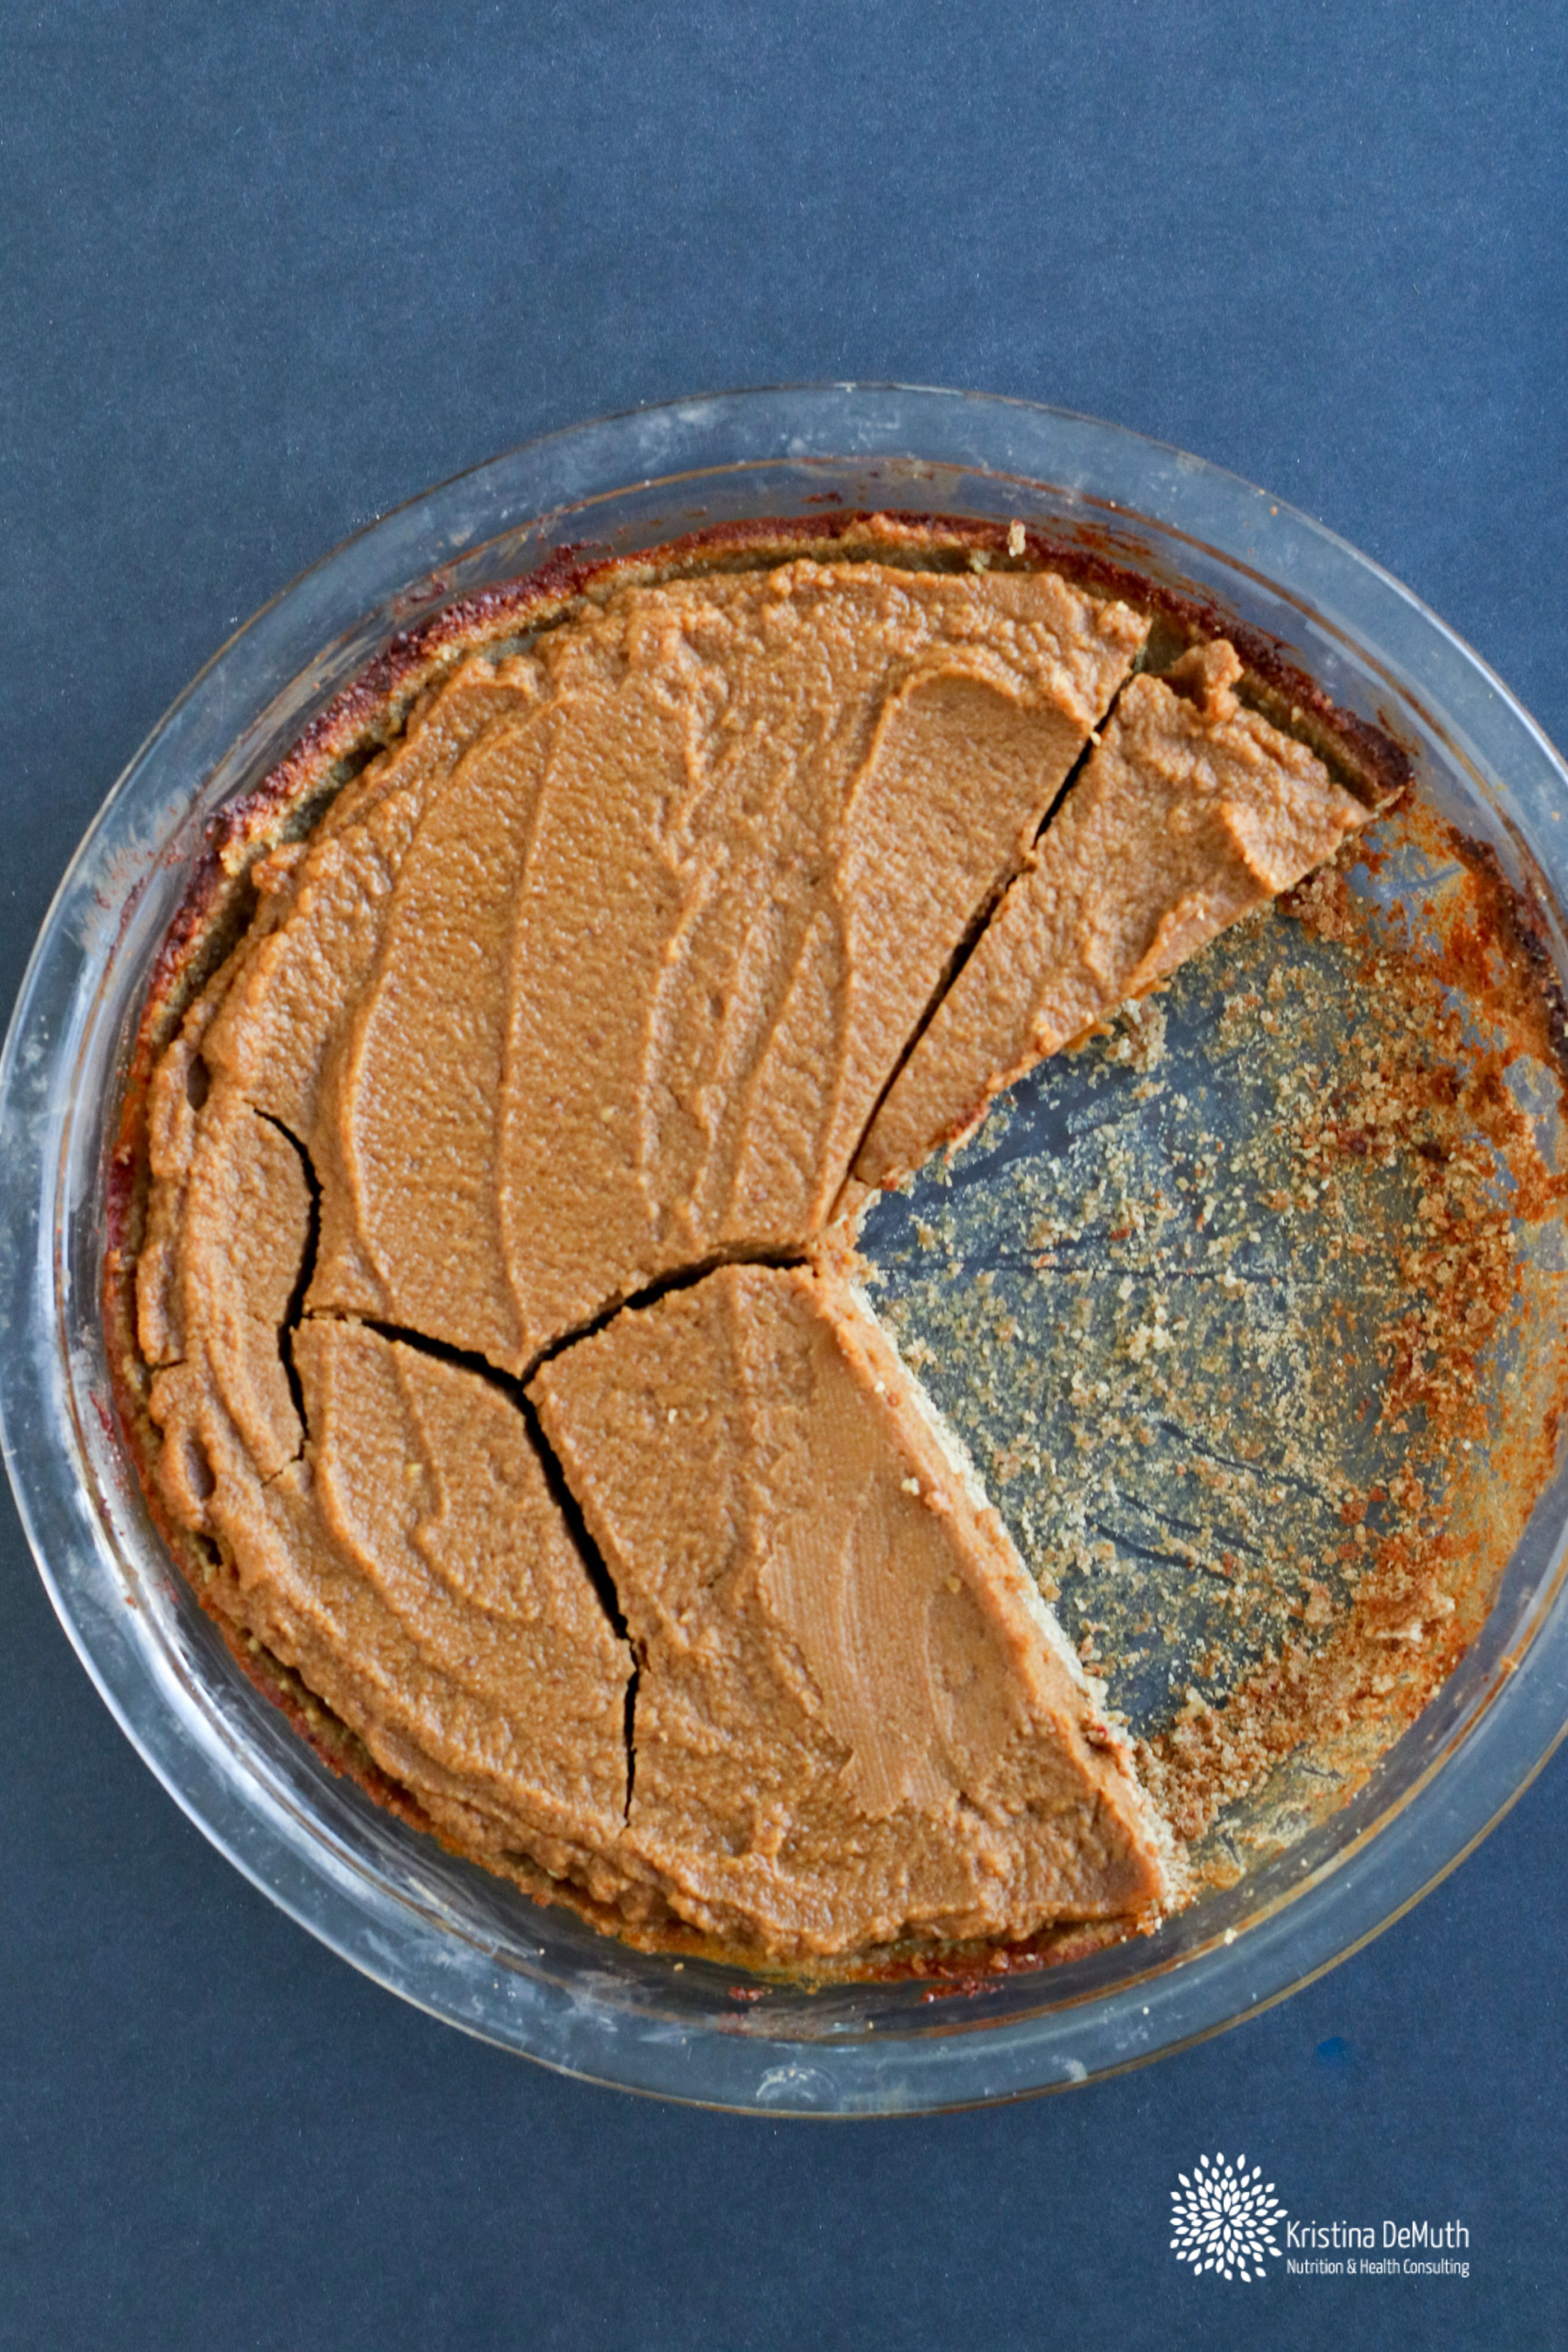
Chickpea Pumpkin Pie- Original
Ingredients:
Crust:
1 cup rolled oats
¾ cup pepitas (pumpkin seeds) or walnuts (see notes above)
½ cup dates, chopped
1 teaspoon vanilla
2 tablespoons water
Filling:
1 (15 oz) can of chickpeas, drained and rinsed
¾ cup water
1 Tablespoon cinnamon
½ teaspoon nutmeg
½ teaspoon ginger
¼ teaspoon clove
1-2 teaspoon vanilla (optional)
¾ cup chopped dates, pits removed
1 (15 oz) can of pure pumpkin puree
Method:
- Preheat the oven to 350F.
- In a high speed blender, combine the oats and pepitas (or walnuts). Blend until fine like flour. Add the dates, vanilla, and water. Blend until the mixture looks like cookie dough. It’s okay if there is a bit of texture.
- Add the pie crust to a glass pie dish. Spread the crust out and pat it together, making sure to add crust to the sides.
- In a high speed blender, combine the chickpeas, water, spices, and vanilla and blend until smooth. Then add in the dates and blend until smooth. Finally, add in the pumpkin. Continue blending until the filling is smooth. Add 1-2 tablespoons of water, if needed, if the mixture is not blending well. It will also be helpful to scrape down the sides several times to help it blend better.
- Once smooth, pour the filling over the pie crust and spread evenly.
- Bake the pie for 30 minutes and then allow to cool completely before serving (may help to make a day before to help it set completely). Enjoy!
Makes enough for 6-8 people



 Kristina DeMuth
 Kristina DeMuth